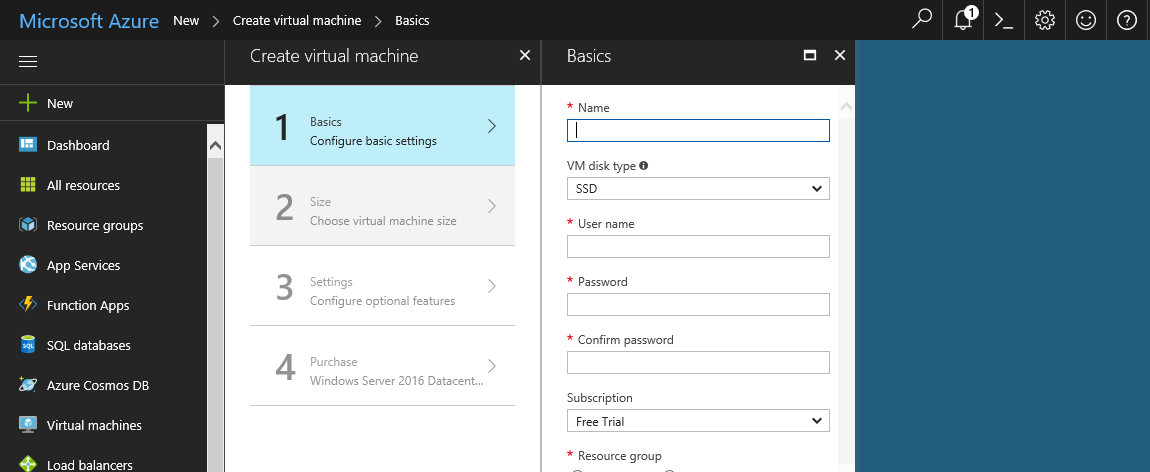
When you plan to create a VM based on an image, the Azure platform automatically provisions a new OS disk. Alternatively, there is also an option to attach your own customized existing disk containing an OS to a new Azure VM. This typically happens when you migrate a VM from your on-premises environment to Azure or want to use an on-premise virtual disk as a template.
When migrating on-premises disks and images to Azure, remember that on-premises Hyper-V virtual hard disks can use either the .vhd or the .vhdx format. At this point of time, Azure does not support the .vhdx virtual hard disk format. If you intend to upload an on-premises .vhdx file to Azure and use it to provision a new Azure VM, you must first convert it to the .vhd format. You can use the Edit Virtual Hard Disk Wizard in the Hyper-V Manager console for this purpose.
Other considerations when migrating .vhd files from your on-premises Hyper-V servers include:
• The 4-TB limit on the size of .vhd files in Azure. If your virtual disks exceed this limit, try compressing them or splitting them into multiple disks (there is the option to create a multidisk volume in an Azure VM to provide the required drive size).
• Dynamically expanding .vhd files are not supported in Azure. They require conversion prior uploading to Azure. Another option is to use the Add-AzureRmVHD PowerShell cmdlet which it will automatically convert the dynamic disk into fixed format during the transfer operation.
Thanks for reading!

