Hi everyone! I truly hope that you and your families are #safe in these difficult times that we all going through.
In order to cheer everyone up a bit and make #stayhome more pleasant, I compiled a quick but brief post on how to make use of a spare PC and turn it into a Hyper-V Server for testing and educational purposes. Hyper-V Server is actually a free product, yes you heard well, Hyper-V Server is a completely free product.
So it’s free, any pitfalls? I would dare to say, many as expected due to the fact that this is a free product.
Let’s quickly go through some:
- The only available installation option is, Server Core.
- All OS and Application limitations for Server Core apply.
- No other server role except Hyper-V , Failover Clustering, MPIO, and Remote Desktop Services is supported and can be installed.
- Guest VMs should be licensed. There is always the option to evaluate Windows Server or Windows Desktop OS through the evaluation center.
However,
- It can be joined to an AD Domain.
- It can be used as a fully functional node of a Hyper-V Failover Cluster.
- I can be managed by SCVMM.
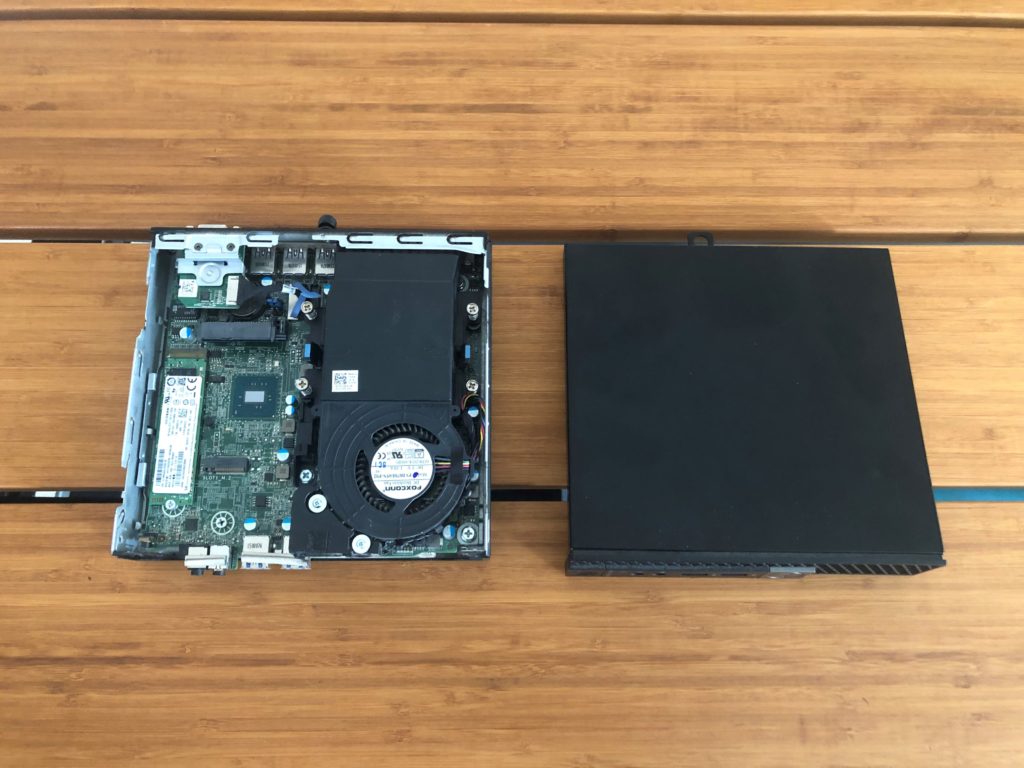
Now let’s go through the fun part, YAY! Like many of you out there, I have plenty of spare machines in my place, carefully hiding them from my lady, in my own very special room in our home. More specifically, I pulled out the closet this little charm.

A tiny factor(micro) PC from Dell Technologies. This little fellow comes with the following hardware specifications:
- Processor: Intel i3 6100T
- Memory: 16GB DDR4
- Storage: SK Hynix 128GB NvME
While this particular piece is not listed anywhere in the Windows Server Catalog, the hardware specifications required for the Hyper-V server to run are met. Remember, this build/setup is only for testing and educational purposes.
The hardware requirements are the following:
- A 1.4Ghz 64-bit processor with second-level address translation (SLAT).
- VM Monitor Mode extensions.
- Enough memory – plan for at least 4 GB of RAM for the host OS only.
- 32 GB of free space or more.
- Virtualization support turned on in the BIOS or UEFI:
- Hardware-assisted virtualization.
- Hardware-enforced Data Execution Prevention (DEP) must be available and enabled.
Configure system prior to the installation
From the BIOS, enable the following.
- Enable the virtualization features of the CPU as stated above.
- Enable UEFI boot.
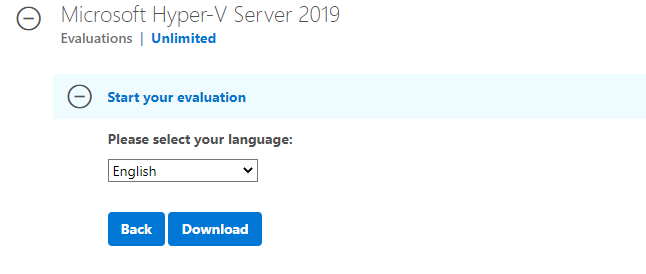
Download the ISO
Grab your free copy of Hyper-V Server 2019 through the evaluation center.
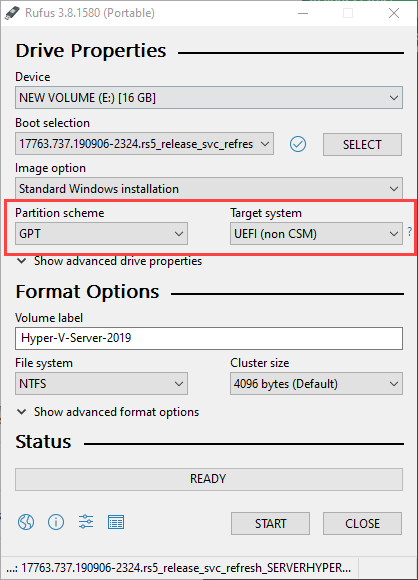
Prepare the installation medium
Prepare a bootable installation medium using the ISO and the very handy freeware software called Rufus. Preferably, use a USB thumb drive of 8GB capacity. As the system is now configured for UEFI, make sure you use the following settings while creating the bootable medium otherwise you won’t be able to boot from it.
Install Hyper-V Server
Now you should be in the state of booting your machine from the installation medium into the installation Wizard. To be honest, nothing special to mention here. The experience/procedure It’s pretty much the same as installing Windows Desktop or Windows Server OS. Let’s quickly go through the setup process.
Pick the Regional settings of your own preference.
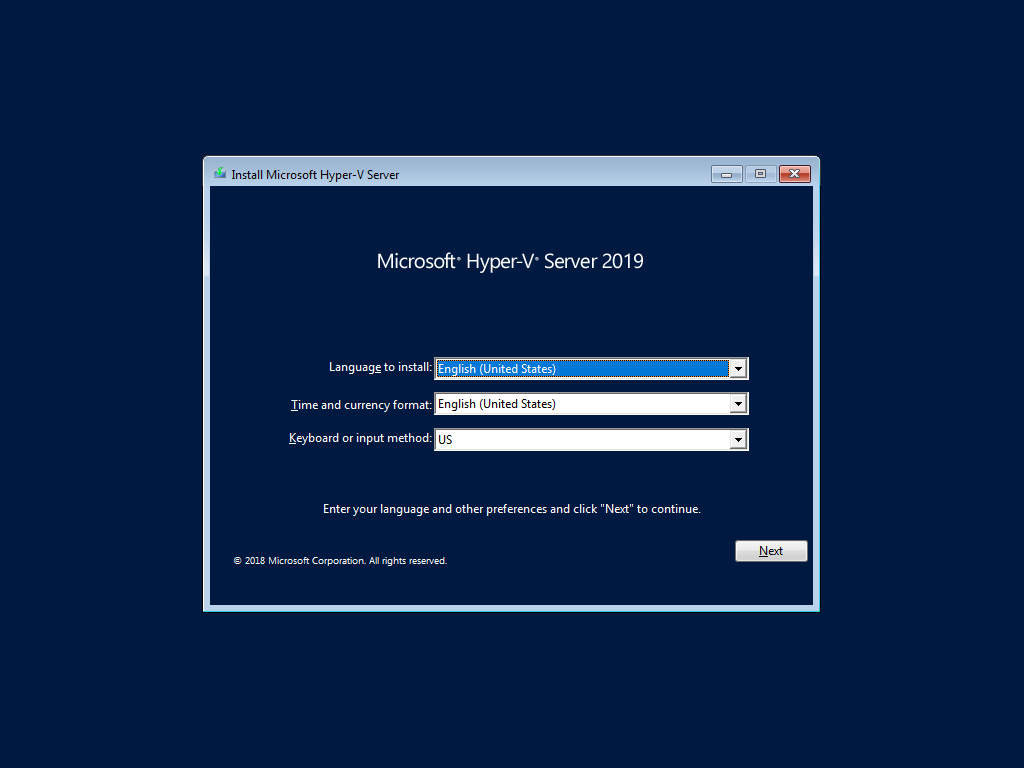
Choose Install Now.

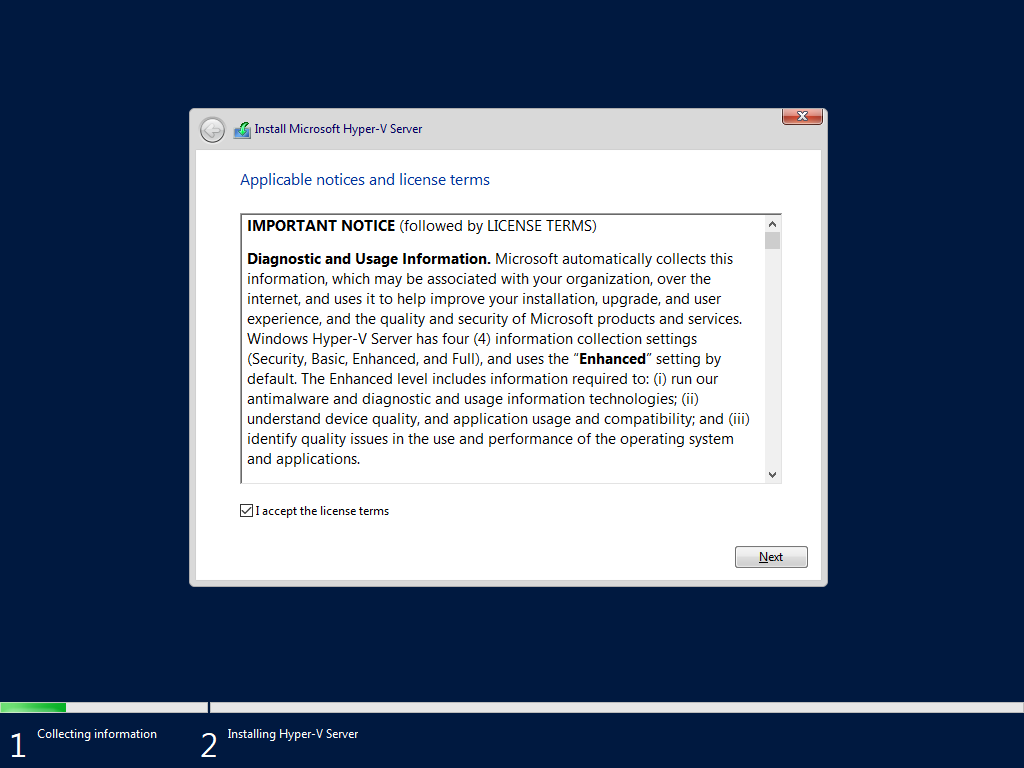
Go through the terms of the license, click on accept and hit next.
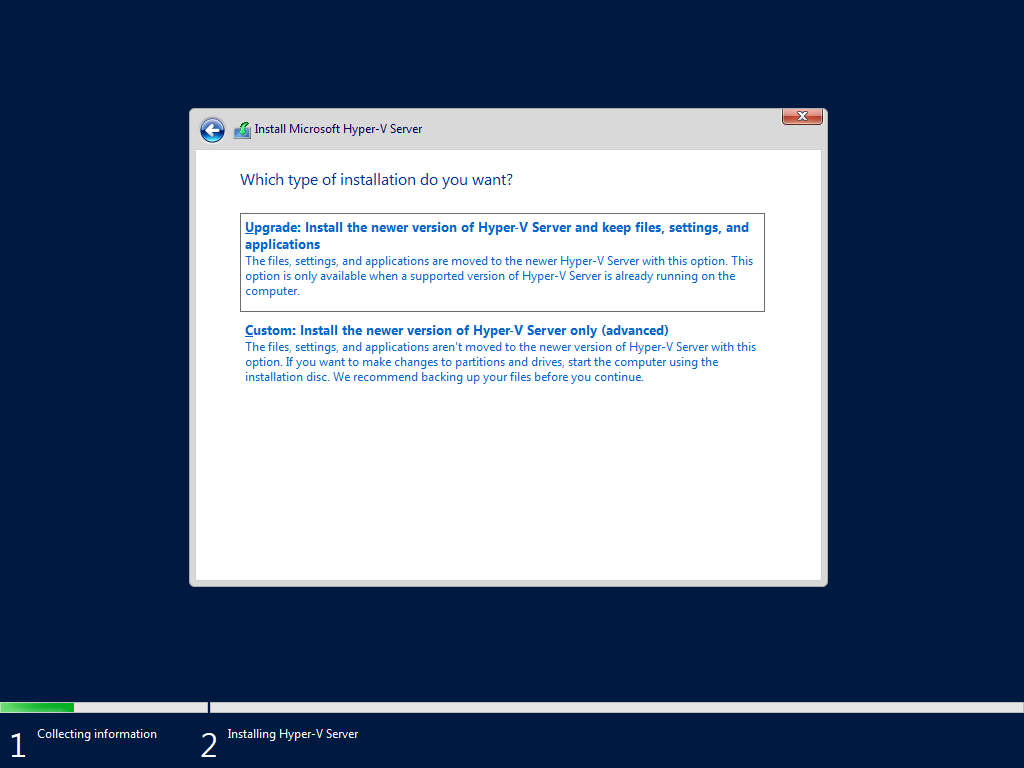
Choose the Custom type of installation.
Feel free to partition the disk or disks on your own preference. If you decide to store the VM files on a separate partition or disk, make sure you format this drive with the recommended File System and block size. It could be either ReFS or NTFS, but the recommended block size should be 64KB.
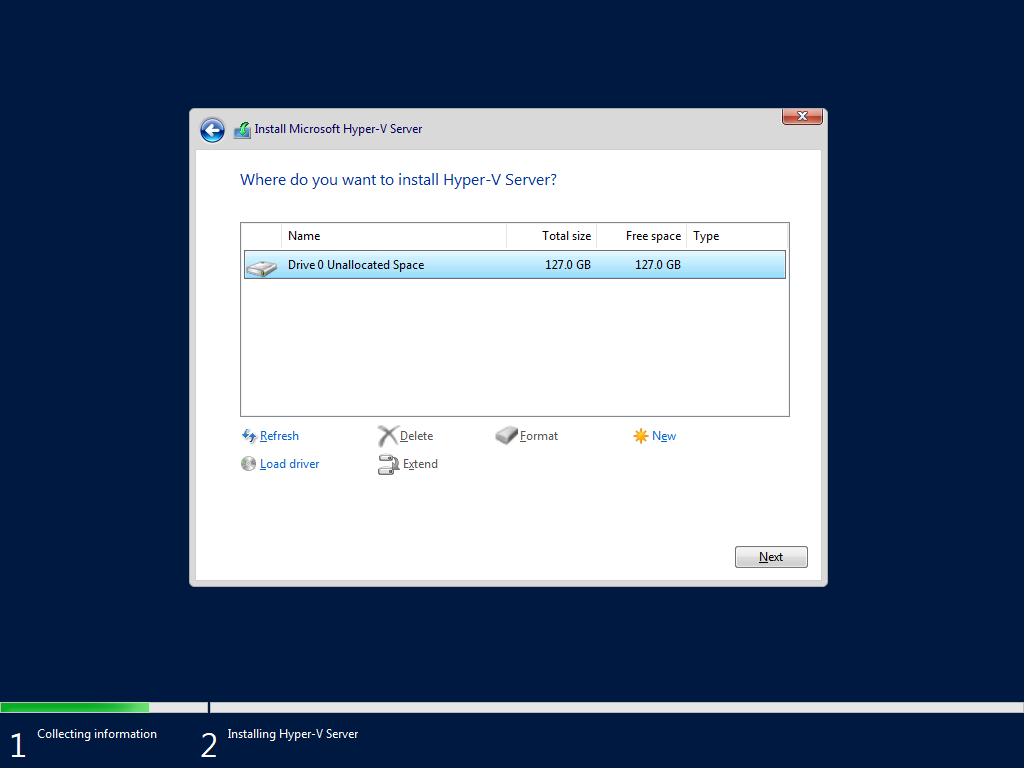
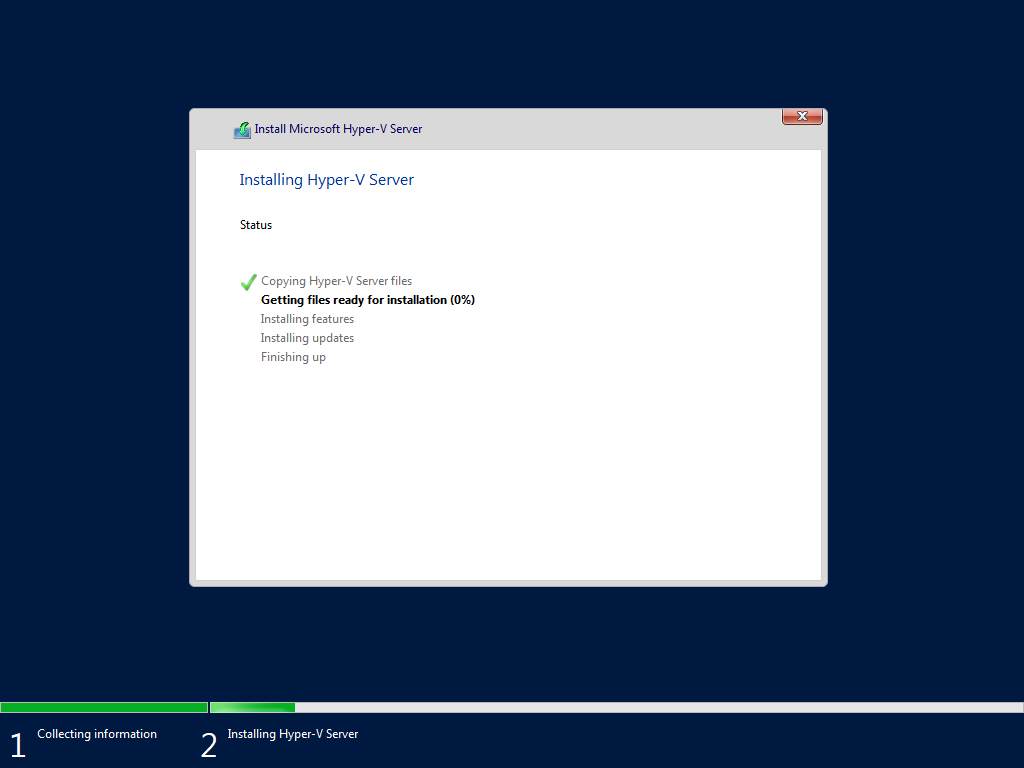
Sit back and wait for the installation to complete. During the installation, the system may reboot several times.
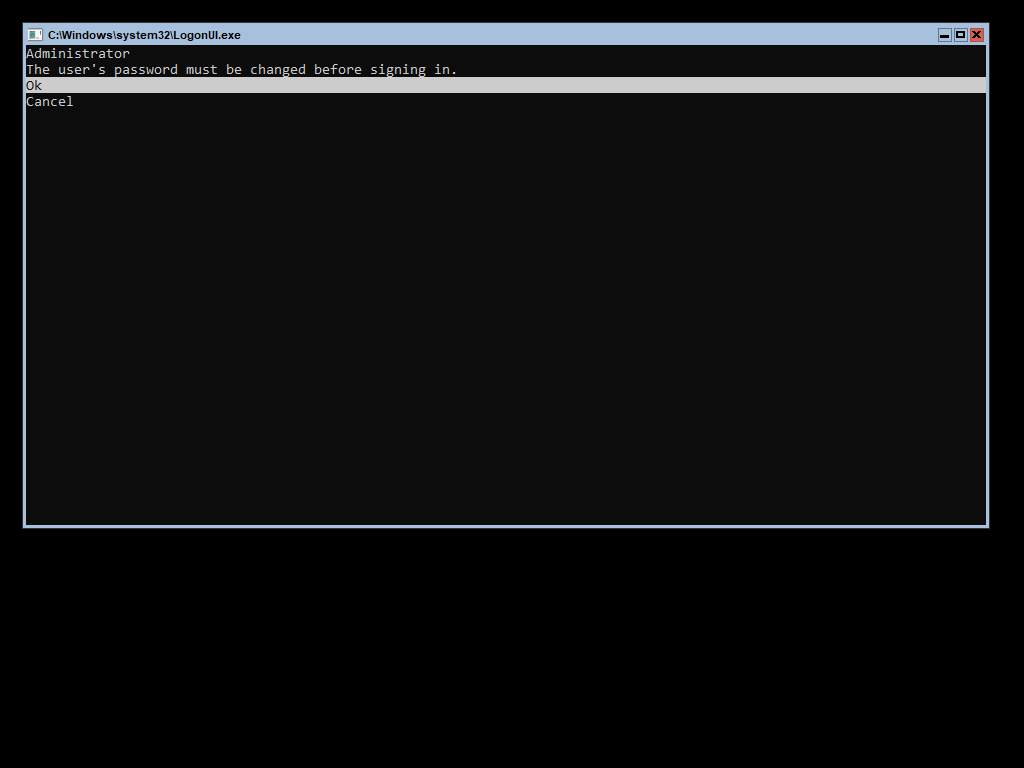
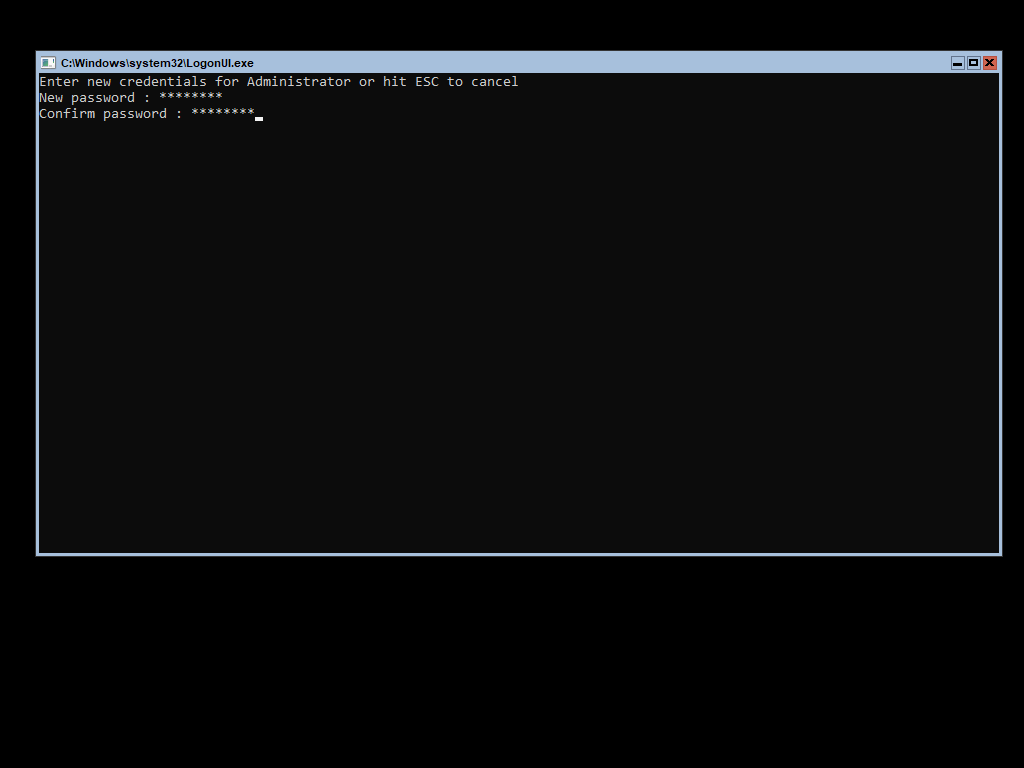
Once the installation is over, you will be prompted in this minimal server core interface. Follow the on-screen prompts to reset your administrator account password.
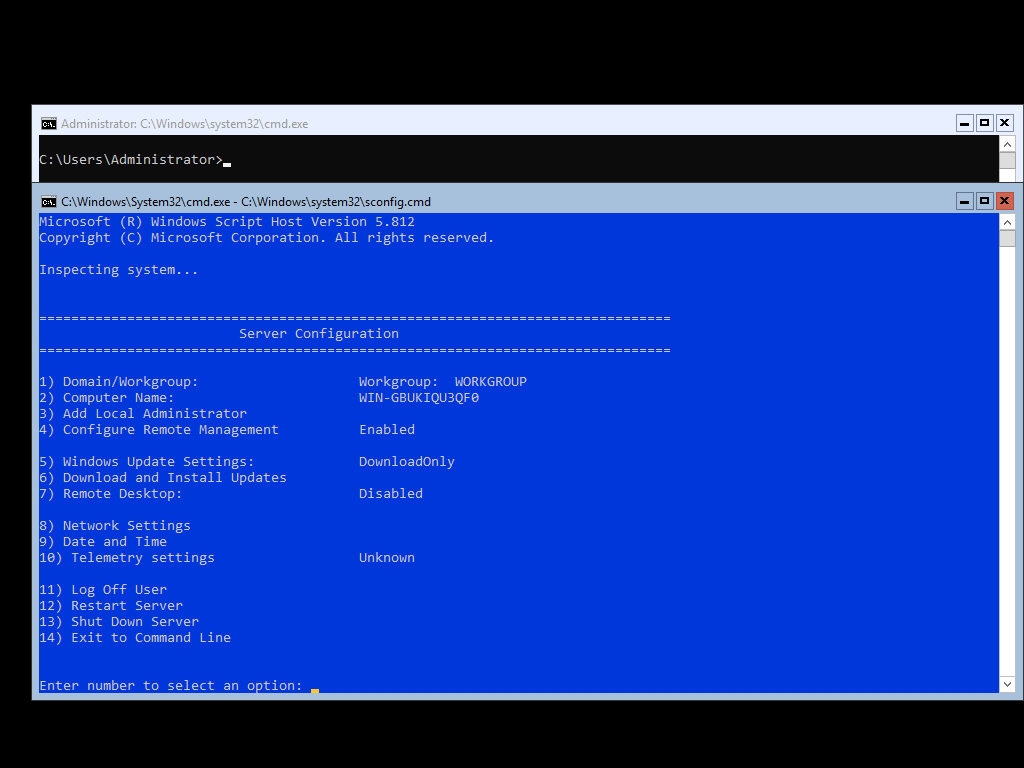
After setting the password of your preference, you will be prompted to the Server configuration tool, a familiar minimal command-line interface used for configuring server core installations.
If there is not a DHCP around, then type number 8 while in Sever Configuration to configure the IP Network Address.
If the connected network has an active DHCP service, then just hit 14 on your keyboard to exit Server Configuration and return to a command-line prompt.
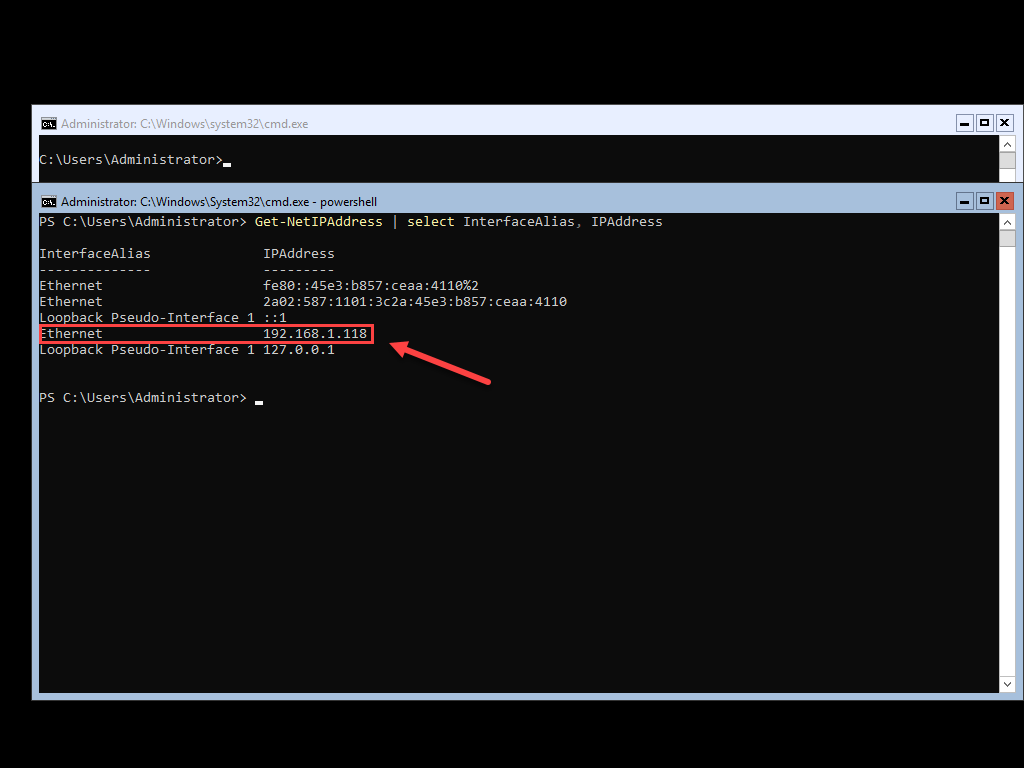
Switch to powershell environment by typing powershell and hit enter.

Find the network address that was assigned to your network interface using the following one-liner.
Switch back to your Windows 10 client in which you will be managing remotely your server and download Windows Admin Center using this link. Execute the downloaded MSI file to start the installation process.
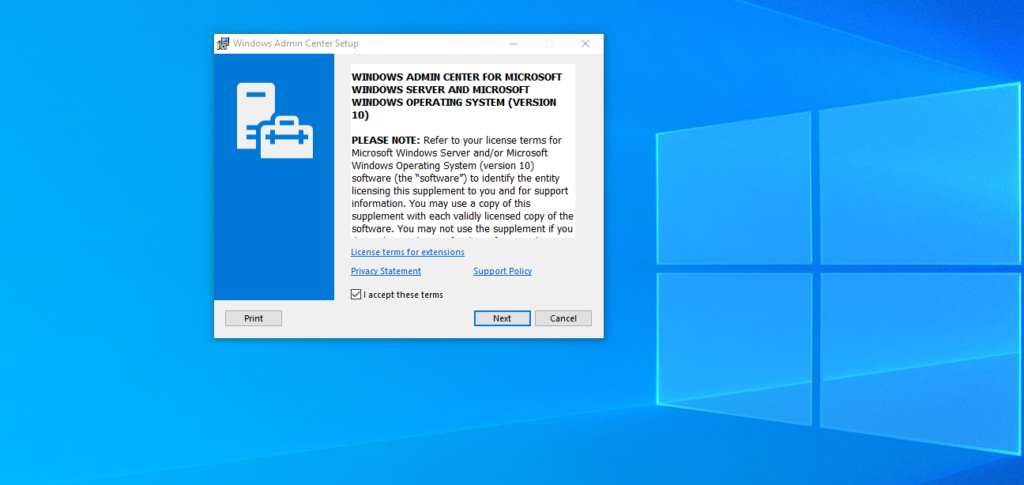
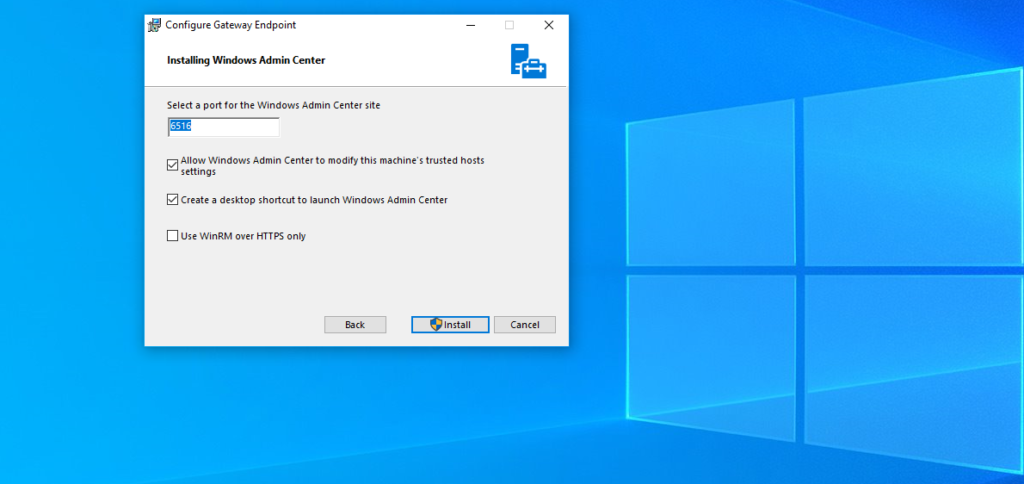
Leave the default settings as shown below.
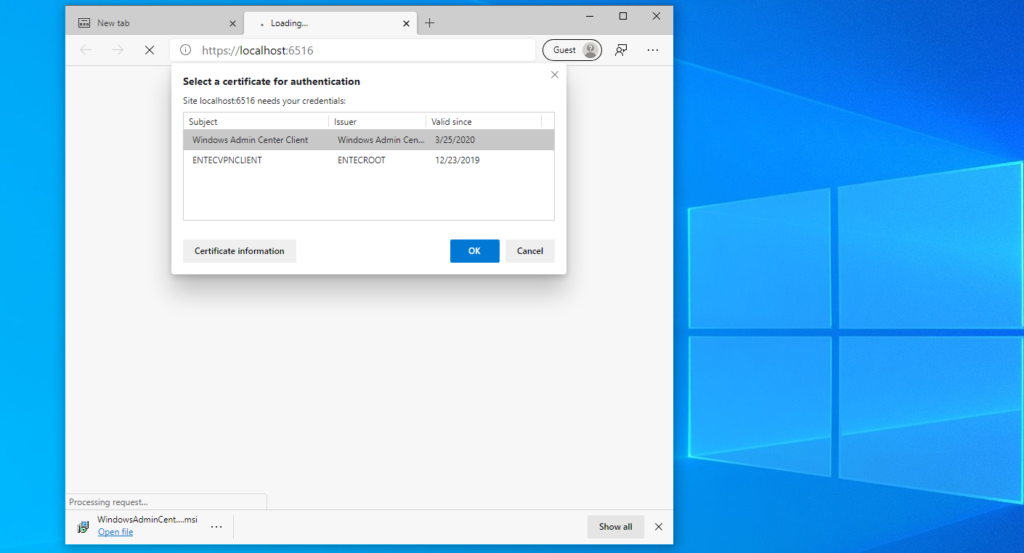
Choose to open the Windows Admin Center upon completion.
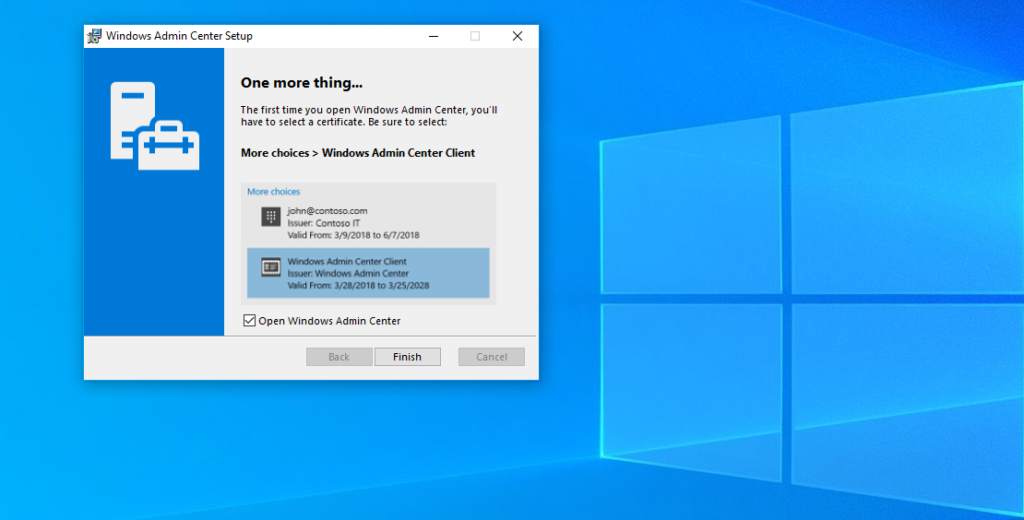
Choose the self-signed certificate created during the installation process and hit OK.
From this point and on, you will be able to manage the newly deployed Hyper-V Server using Windows Admin Center! Console access, PS Remote and remote using MMC are still possible
Add Hyper-V Server to Windows Admin Center
Configure Hyper-V Settings
Create an External Hyper-V Virtual Network Switch for Virtual Machines
Manage network settings
Create Virtual Machines
As said, you could use the Microsoft evaluation center to download and evaluate both OS and Software.
I hope you liked it. Happy testing and most of all #staysafe!
Thanks for reading!
[…] Go to Source of this post Author Of this post: George Markou Title Of post: Building a home lab using free Hyper-V Server 2019 #whileathome Author Link: {authorlink} […]