Hello ppl! It’s me again, geeking out once again about SDS and Storage Spaces Direct. As the time goes by, more and more deployments are popping out in field and people are always seeking out ways to optimize their deployments and of course to scale. Scale up or scale out it doesn’t matter much, just scale!
Some things to remember about the S2D Clusters
Number of Nodes: you can start from 2 and end up with 16 nodes in total
Number of Physical Disks: Minimum 2 and the sky is the limit. Just kidding, the limit is 416.
Networking: Minimum 10Gbe RDMA enabled NIC’s. RDMA is absolutely MANDATORY! Otherwise, the S2D power will not be unleashed.
What I’m about to demonstrate in this article is the simplicity and awesomeness of using SCVMM 2016 to manage your S2D clusters and of course, to scale!
The current deployment consists of the following goodies:
1 VM Guest called W2K16SCVMM01, running WinServ2016 RTM Evaluation which hosts System Center Virtual Machine Manager 2016.
2 VM Guests called W2K16HCI01 & W2K16HCI02, running WinServ2016 RTM Evaluation with 4 disks each ( 3 consumed by the storage pool, 6 in total ) already running in a cluster configuration using the Hyperconverged S2D deployment method ( Nested ).
In the context of the above, we are going to scale out our cluster by adding another identical host ( same specs, same networking, identical number and type of disks )
Let’s get starting, shall we?
First of all, as described above our current S2D cluster runs with 2 nodes and Mirror Resiliency and completely being managed by SCVMM.
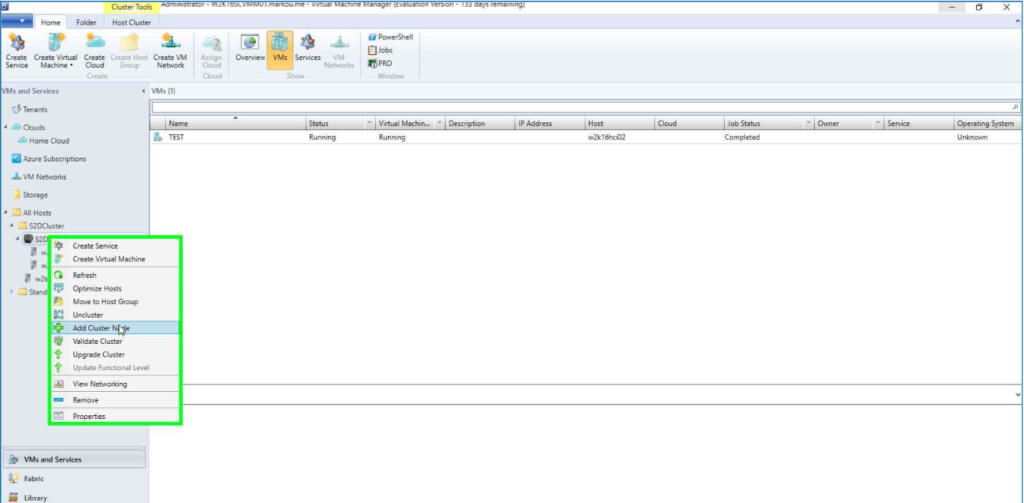
- Head to the SCVMM console, to VMs and Services and right-click to the S2D cluster entity that we want to scale out. Click Add Cluster Node and head to the next step. The additional node should have been already added in the host group which the S2D Cluster resides too.
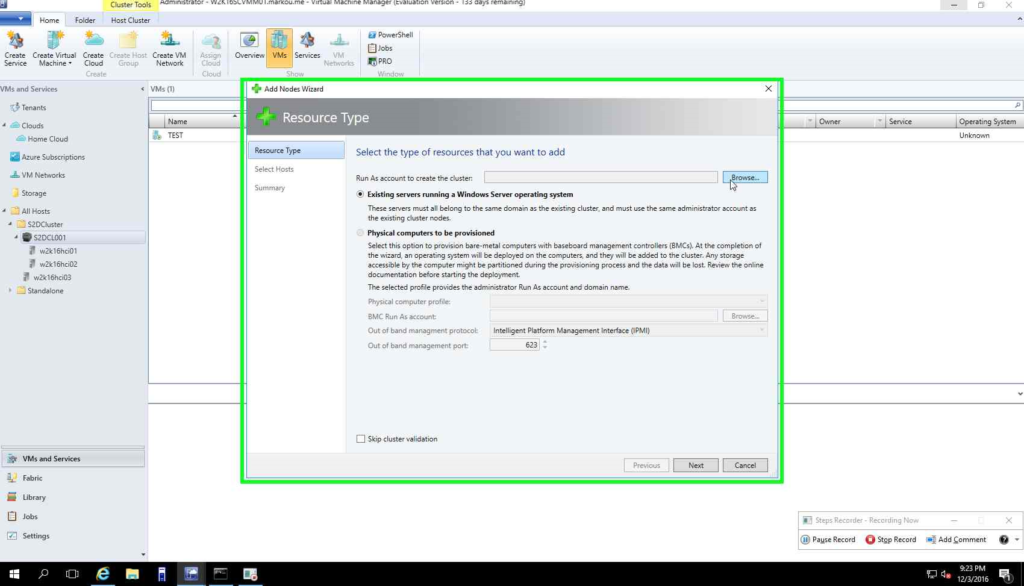
2. In the Add Nodes wizard, click browse and choose the service account that has been already been used by the S2D Cluster.

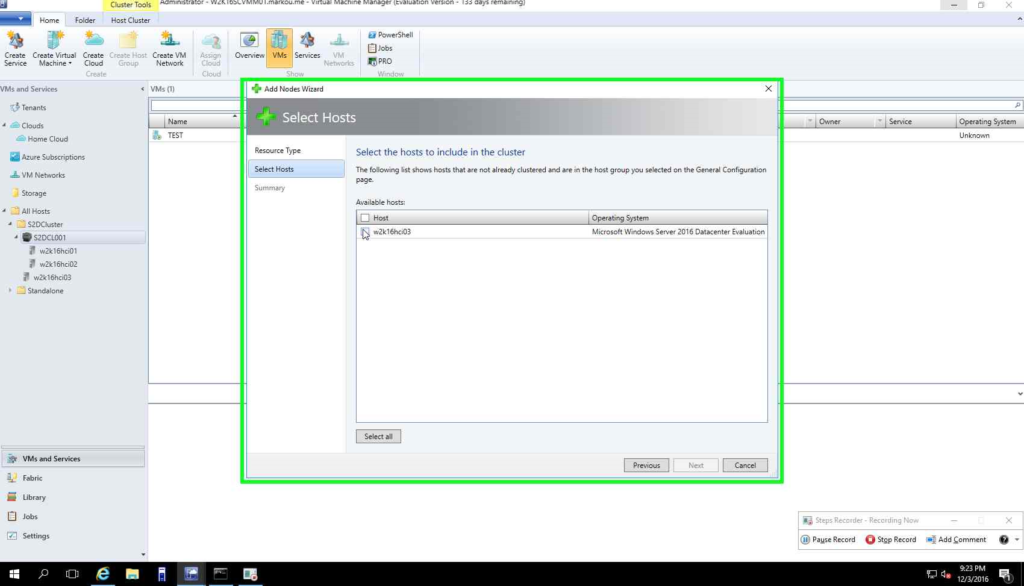
3. In the select Nodes screen, choose the additional Node that we want to add to the cluster.
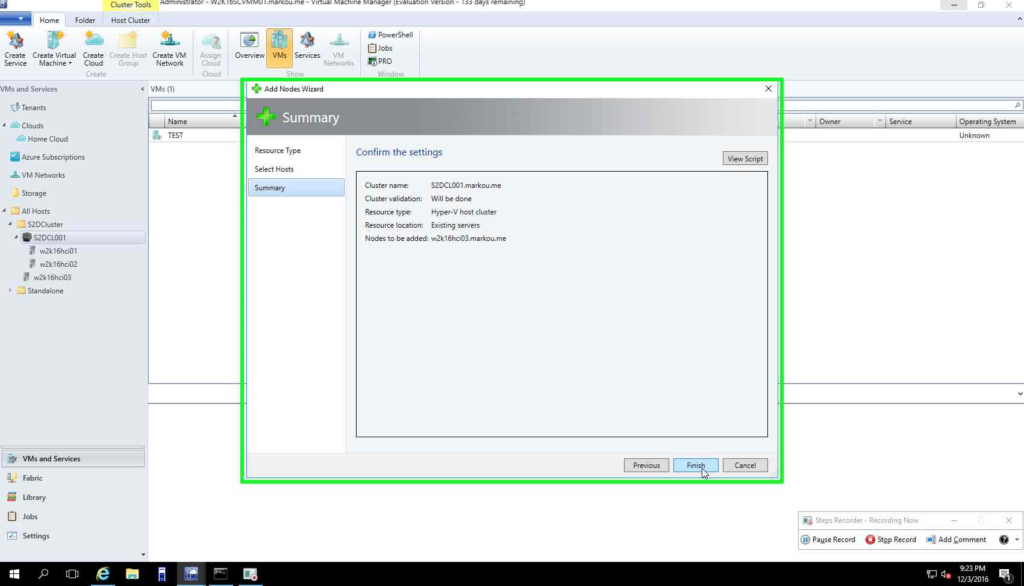
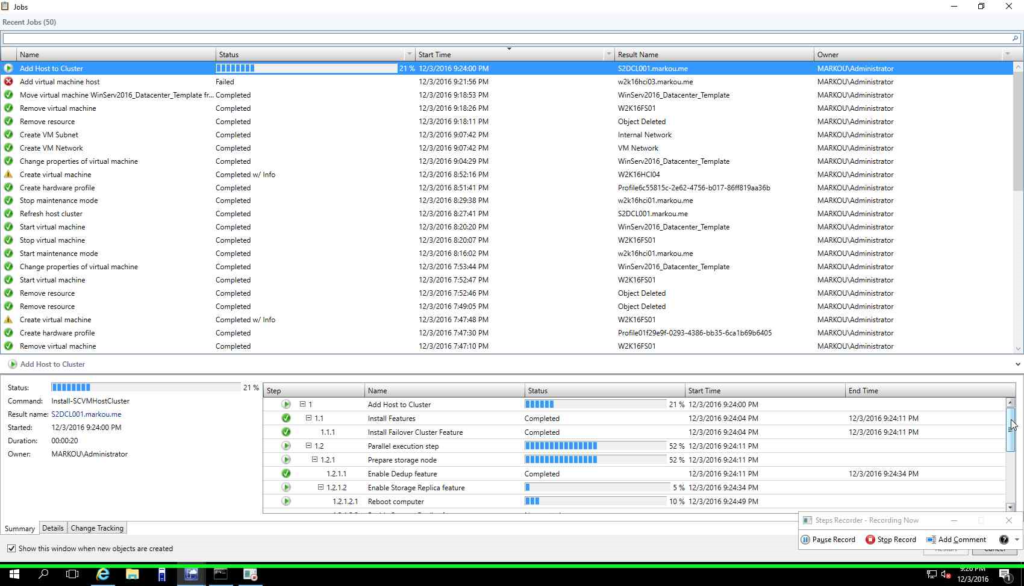
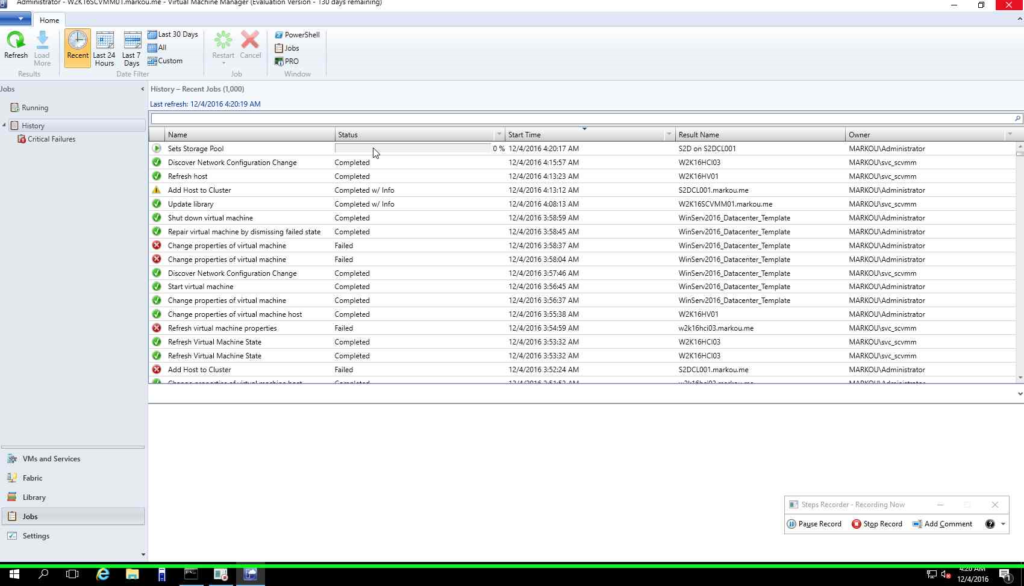
4. At the end of the wizard press Finish and afterward you can monitor the progress of the operation under Jobs, Running.
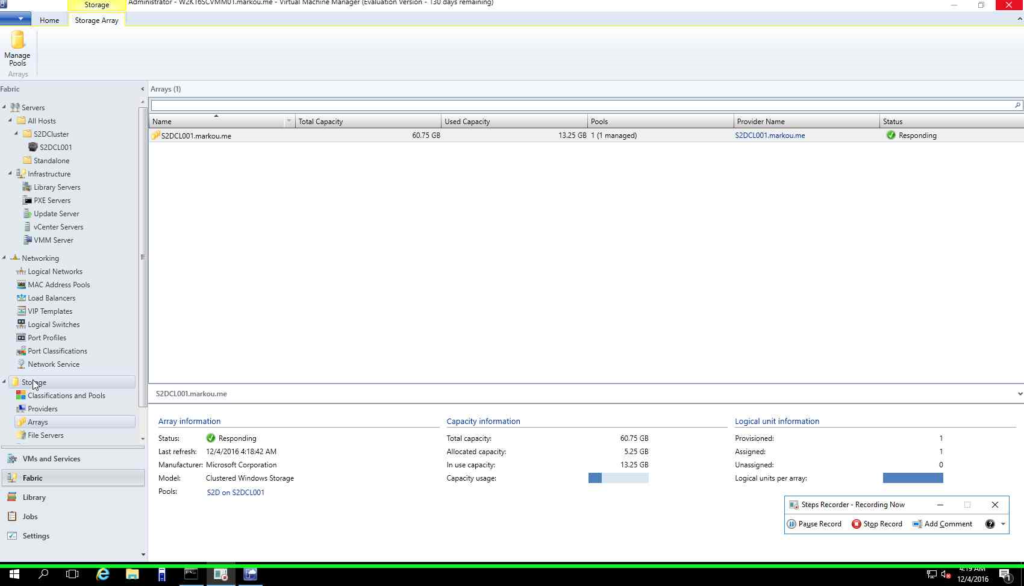
5. Go to Fabric, click on Storage and double click the storage pool of the S2D Cluster.
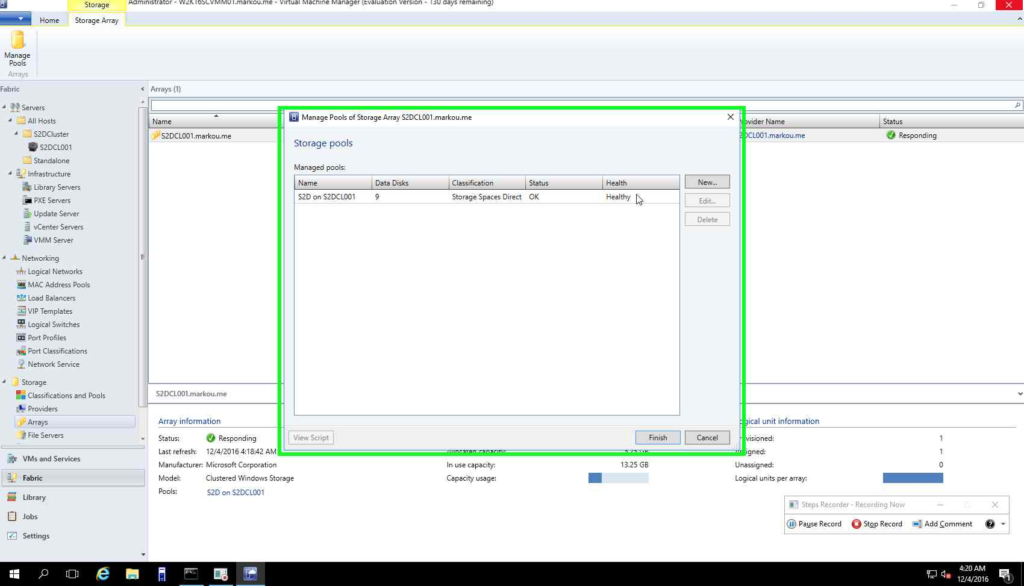
6.Choose the S2D Cluster Storage Pool and hit Edit.
7. Choose and the newly appeared disks to be added to the storage pool.
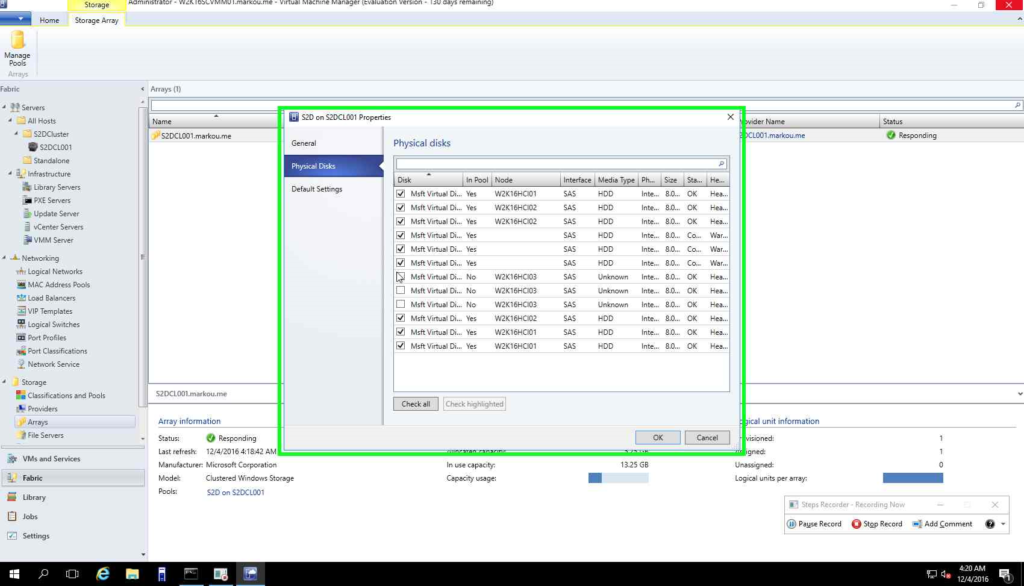
8. Wait a bit for the disks to be added in the storage pool!
Voilà! Your S2D Cluster has been scaled out!
Additional resources for managing S2D can be found in the links below
See also
You must be logged in to post a comment.