Most of you have already started shifting stuff to Azure or planning to do so. The majority of the organizations are already embracing the Virtualization technology for their workloads. Almost every IT organization is using custom reference VM images to reduce deployment times and to somehow maintain a baseline.
In this practical guide, I will demonstrate the process of moving your Hyper-V, Windows (Guest OS) reference images to Azure in order to be used with your future IaaS VM deployments.
There are two ways of creating a Managed Image.
- From unmanaged disks: Most suitable for scenarios like this one.
- From a captured Azure VM: For scenarios in which a VM is running on Azure and we want this to be used as a reference image for future deployments.
Nevertheless, the outcome will be the same. In this guide, we will demonstrate the way of creating Managed Images from unmanaged disks.
Prepare, Upload, Create. Let’s do this!
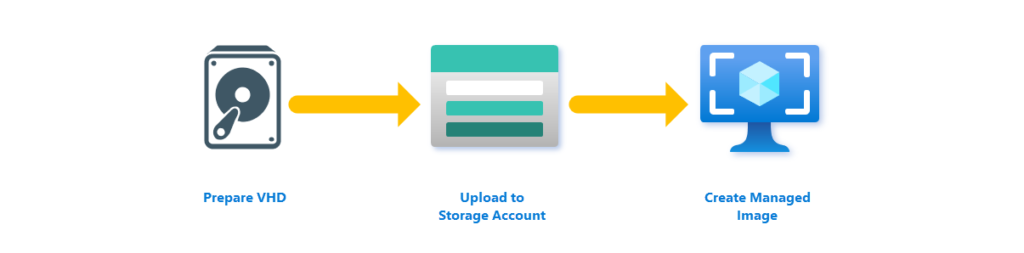
Prepare Virtual Hard disks
Before starting the onboarding process of your Hyper-V reference images to Azure, we need to make sure that requirements are met. Have in mind that only the virtual hard disks will be used and not the virtual machine configuration files.
- VHD, fixed-size file format.
- OS disk up to 2TB and up to 32TB for data disks.
- Generalized (Sysprep) with no unattend.xml configured.
- Gen1 or Gen2.
- Azure Virtual Machine Agent. If it is not included in the image, make sure you install it on the resultant Azure Virtual Machines.
- Windows Configurations and Supported OSes.
In case your reference image virtual hard disks are not fixed-sized or not using the VHD file format, we need to convert them first. Just make sure you do have the required free space on the system that you will execute the conversion to accommodate the resultant fixed-sized virtual hard disks.
To do so, use the following one-liner.
Convert-VHD –Path c:\VM\my-template.vhdx –DestinationPath c:\New-VM\new-template.vhd –VHDType Fixed
Upload Virtual Hard disks to a Storage Account
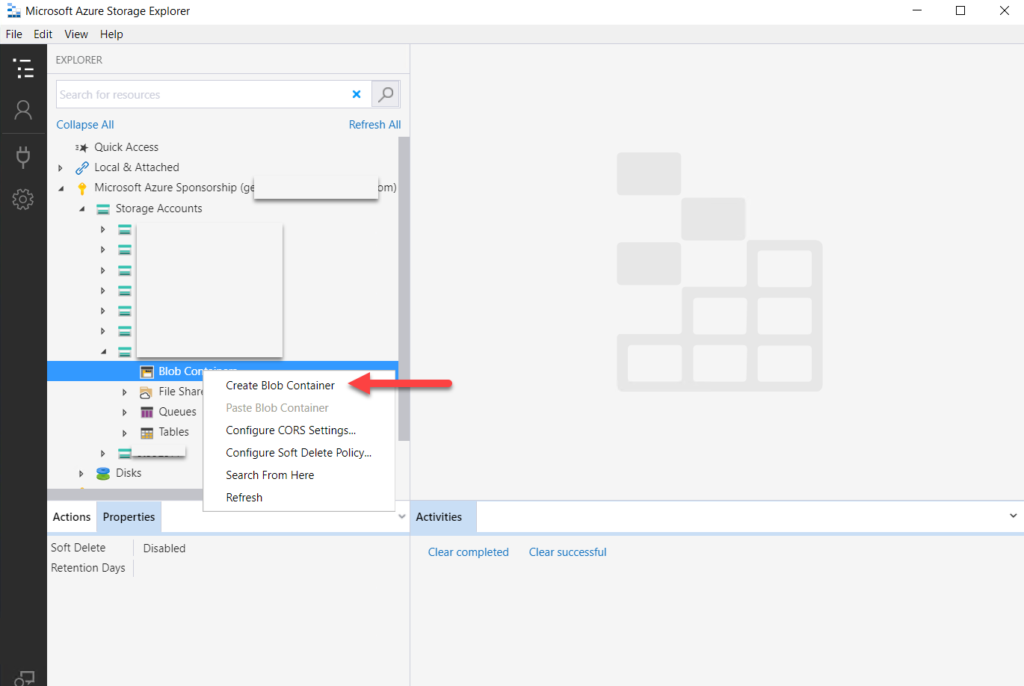
Uploading files and content to an Azure Storage Account is made easy using the graphical tool, Azure Storage Explorer. Use the provided URL to download it and install it if you haven’t done so.
Prior to the operation, an Azure Storage Account is required. This could be either a Block Blob Storage, General Purpose V1 or V2 in an Azure Region that suits your requirements. If not, make sure you provision one using the Portal, CLI or PowerShell.
Open Azure Storage Explorer and connect to the target Azure Subscription where you would like to upload the images.
Create a Blob Container within the storage account. This is where the VHD files will be placed.
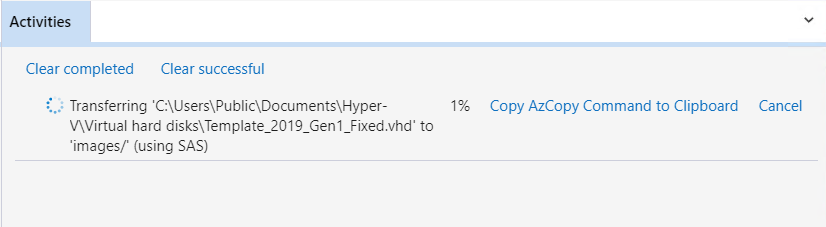
Upload the VHD files.
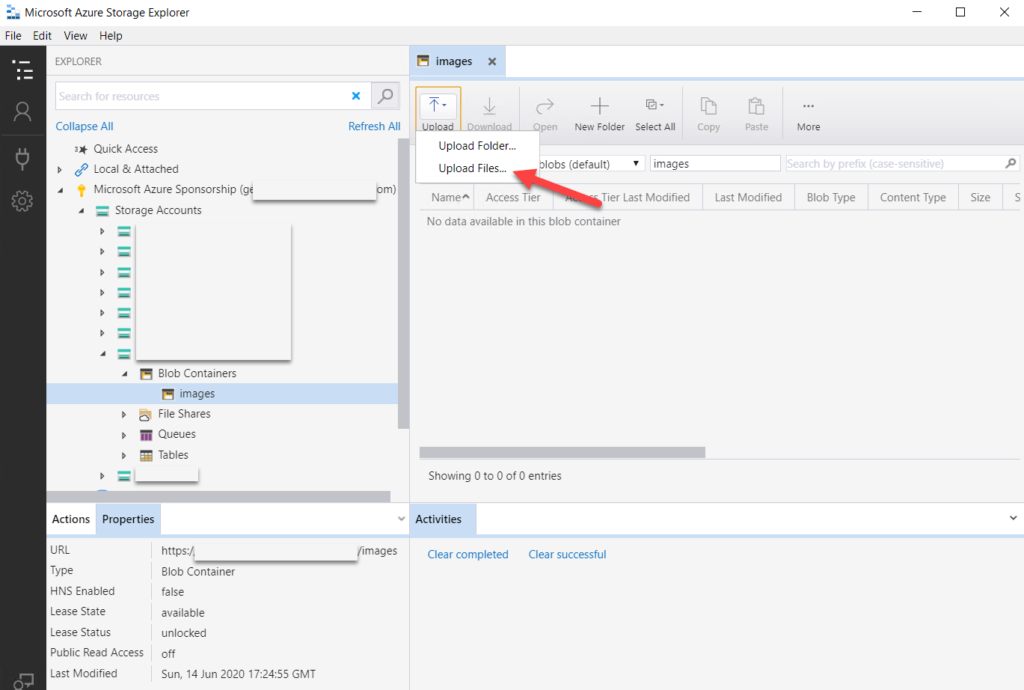
Wait for the upload operation to complete.
Create Managed Images
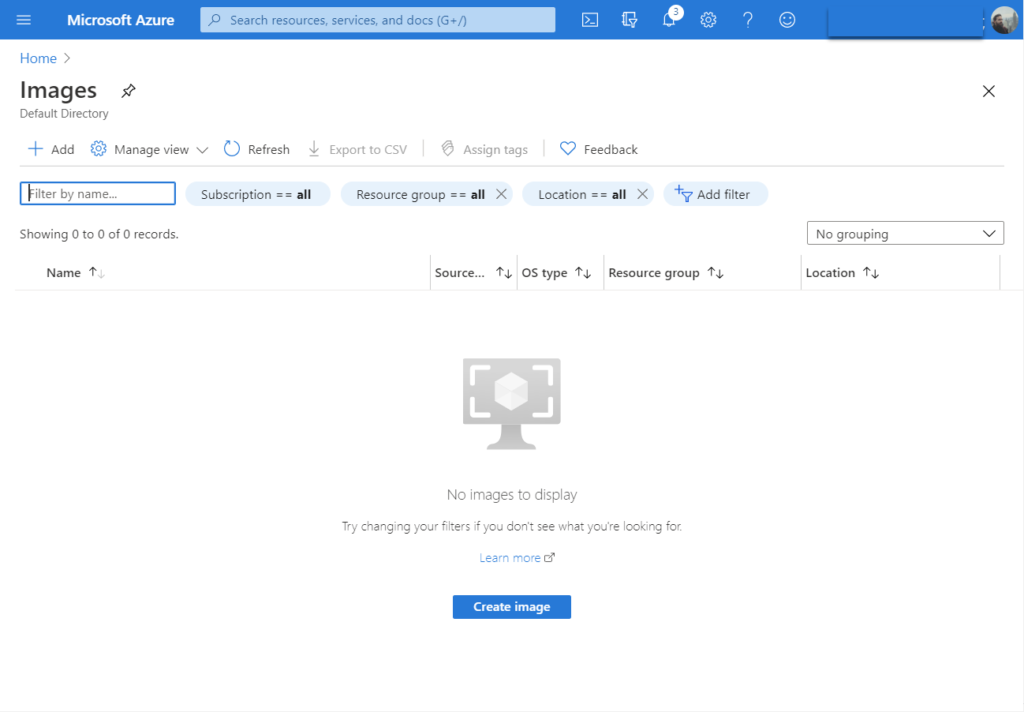
In the Azure Portal, navigate to Images.
Click the Add button, fill in all the required fields for the new Managed Image.
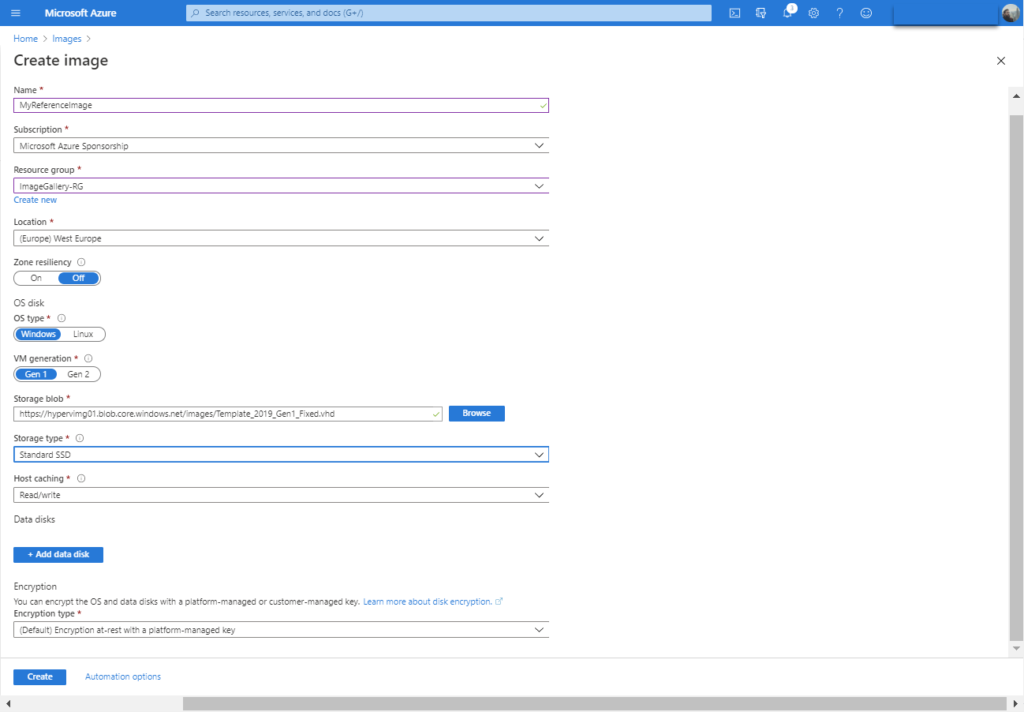
Location: The location where the Image should be created and maintained. Attention, if the Storage Account where the VHD files are preserved is in a different region then it won’t be possible to be used and as source.
OS Type: This is the OS family of the OS contained in the OS disk. Also affects billing of the resulted VM.
VM Generation: The VM Generation of the reference image.
Storage Blob: The unmanaged disk file that resides within a Storage Account. ATTENTION, once you set the location, the file should not be moved or deleted. If you do so, the chain will be broken.
Storage Type: It’s the SKU preset for the resultant disk of future deployments.
Data disks: In case the refence image contains additional data disks, we can add them here to be used with.
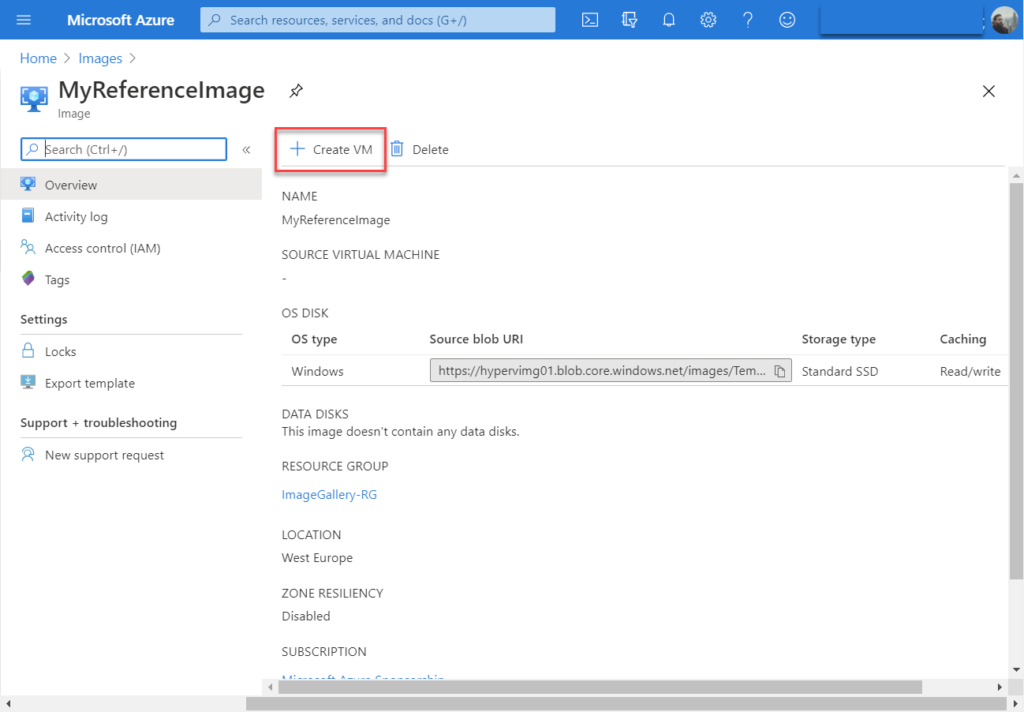
Once the Image is created it will be available within your “collection”. From here you can navigate to it just by clicking on it.
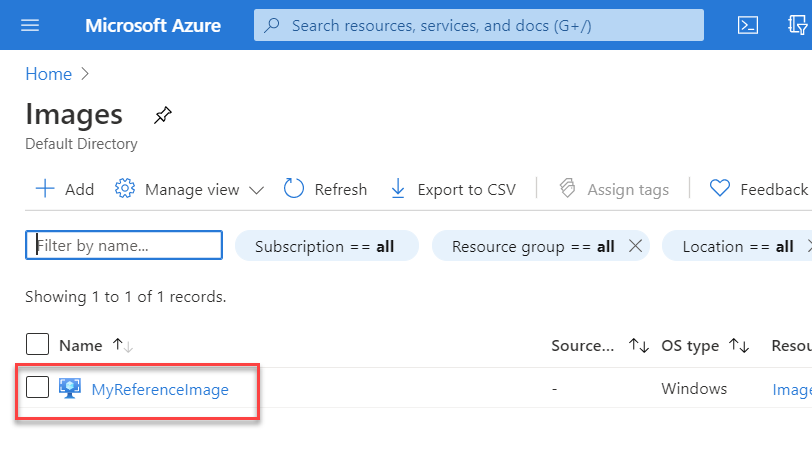
While you are navigating, click on Create button to start deploying Azure IaaS VMs using your newly uploaded reference Image!
Pricing
How much it will cost you to maintain your managed Images on Azure?
Using unmanaged disks: See Storage Accounts pricing. More precisely, you will be billed only for the Storage Account where the VHD files are maintained.
Using managed disks: See Managed Disks pricing. You will be billed for every Managed Image you maintain.
Additional Resources
- Azure Shared Image Gallery
- Prepare a Windows VHD or VHDX to upload to Azure
- Create a managed image of a generalized VM in Azure
Thanks for reading!
[…] Go to Source of this post Author Of this post: George Markou Title Of post: Transform your Hyper-V Reference Images into Azure Managed Images Author Link: {authorlink} […]